The Hackett Signature Editions Collection Featuring Premium Hardcovers of Hackett Classics - Learn More Here.
China: A History
Harold M. Tanner
The China: A History support page features full-color files of images included in the text. The images are organized first by time period (in four parts as noted below in the Table of Contents), and then by chapter and each chapter has its own image tab within the section tables. Click here to jump to the table for part 1 and the first four chapters. Use the buttons below the images to click through the slideshow of photos.
Table of Contents
PART I – THE EARLY EMPIRE: BUILDING INSTITUTIONS AND IDENTITY, 2070(?) BCE–220 CE
Chapter 1: From Myth to History: The Beginnings of the Chinese State and Culture in the Xia, Shang, and Western Zhou Dynasties (4 images)
Chapter 2: The Age of Fighting and Philosophy: The Eastern Zhou Dynasty (3 images)
Chapter 3: From Feudal States to Bureaucratic Empire: The Qin and Western Han Dynasties (8 images)
Chapter 4: The Decline and Fall of Eastern Civilization: The Xin and Eastern Han Dynasties (8 images)
PART II – CULTURAL INTERACTION AND TRANSFORMATION, 220–1368
Chapter 5: The Age of Warriors and Buddhists: The Three Kingdoms, Western Jin, and the Period of North-South Division (3 images)
Chapter 6: A Multi-Ethnic Empire: The Sui and Tang Dynasties (3 images)
Chapter 7: Competing Suns in Heaven: The Song and Its Neighbors (3 images)
Chapter 8: China in the Mongol Empire: The Yuan Dynasty (5 images)
PART III – A NEW CONFUCIAN EMPIRE, 1368–1911
Chapter 9: A Model Government for the Ages: The Early to Mid-Ming Dynasty (4 images)
Chapter 10: Wealth and Instability: The Mid- and Late Ming (3 images)
Chapter 11: A Manchu Empire: The Qing Dynasty to 1799 (5 images)
Chapter 12: The Qing Dynasty's 19th-Century Crises (3 images)
PART IV – THE ROAD TO WEALTH AND POWER, 1911–Present
Chapter 13: Struggling to Build a Nation: The 1911 Revolution and the Early Republic, 1912–26 (3 images)
Chapter 14: Years of Turmoil: China Under Chiang Kai-shek's Guomindang Government (3 images)
Chapter 15: The People's Republic of China: The Mao Era (2 images)
Chapter 16: The March Toward Wealth and Power (4 images)
Return to the China: A History title page.
IMAGE TABLES
PART I
THE EARLY EMPIRE: BUILDING INSTITUTIONS AND IDENTITY, 2070(?) BCE–220 CE
Chapter 1:
From Myth to History: The Beginnings of the Chinese State and Culture in the Xia, Shang, and Western Zhou Dynasties
Click the circles below to move to the next photo.
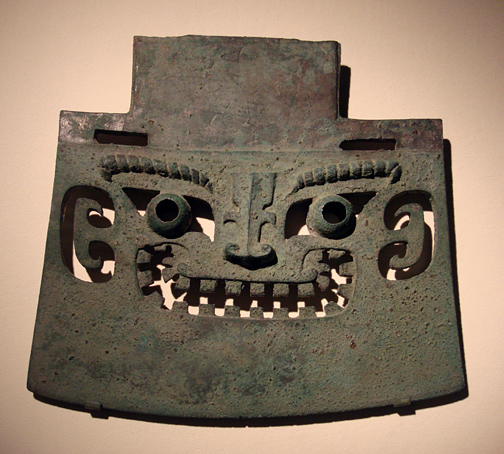
Shang Taotie Mask (1/4)
Bronze Battle Axe (2/4)
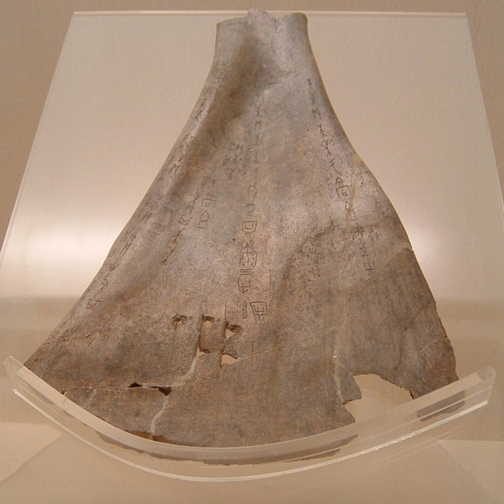
Oracle Bone (3/4)
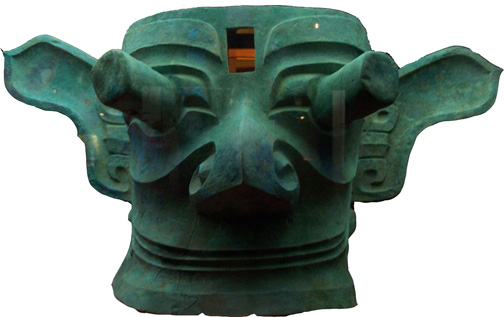
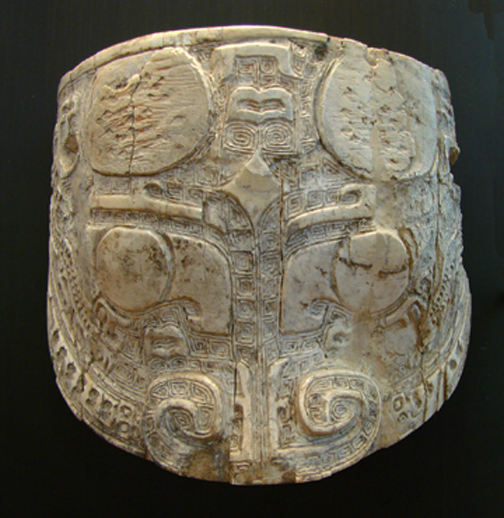
San Xing Dui / Zong Mu Mian Ju (4/4)
Chapter 2:
The Age of Fighting and Philosophy: The Eastern Zhou Dynasty
Click the circles below to move to the next photo.
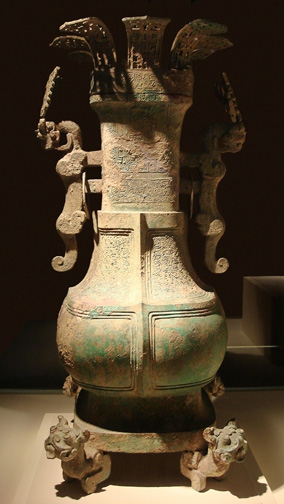
Eastern Zhou Bronze (1/3)
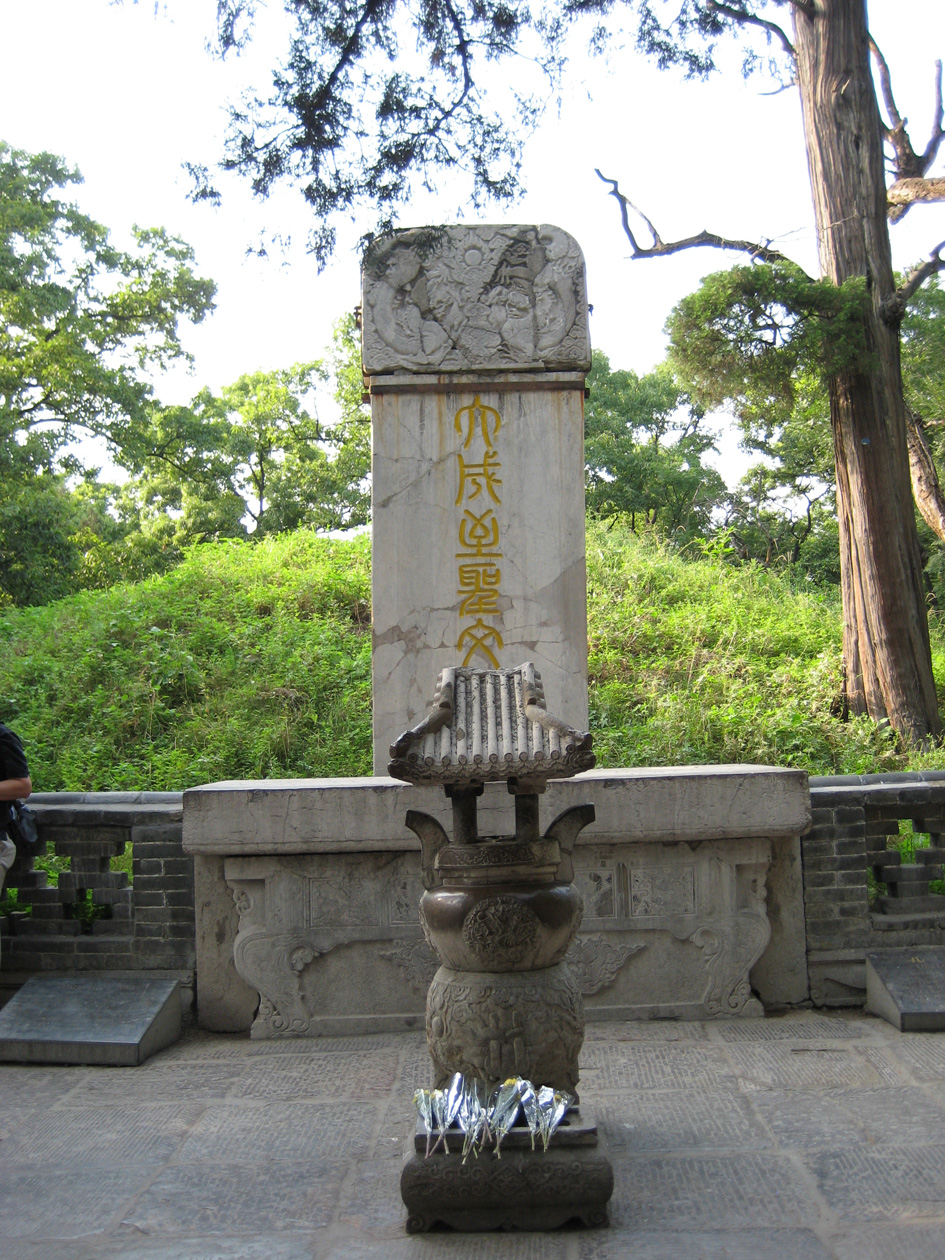
The Grave of Confucius (2/3)
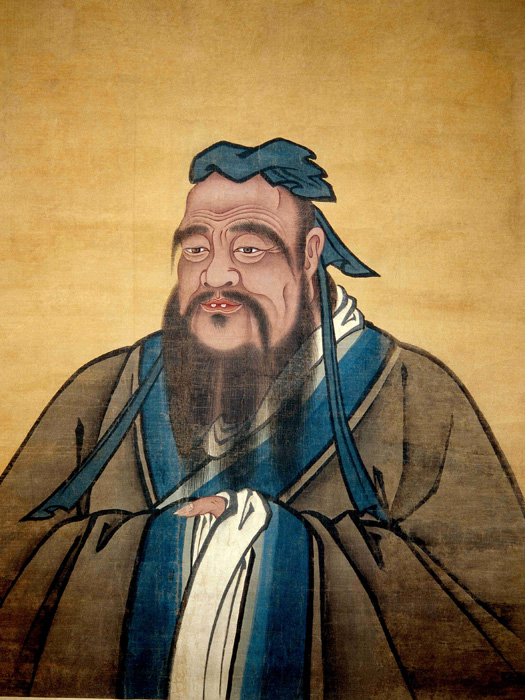
Confucius (3/3)
Chapter 3:
From Feudal States to Bureaucratic Empire: The Qin and Western Han Dynasties
Click the circles below to move to the next photo.
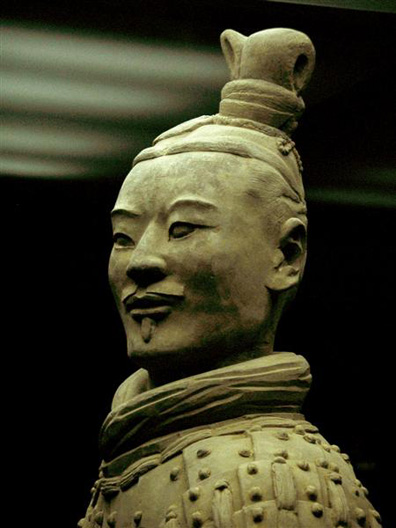
Terracotta Officer (1/8)
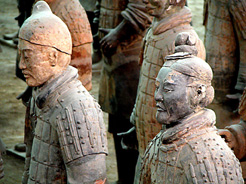
Terracotta Statues (2/8)
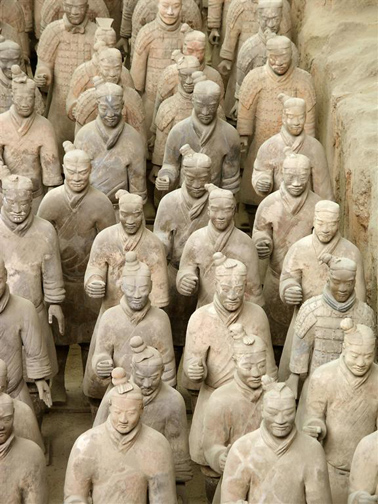
Terracotta Men (3/8)
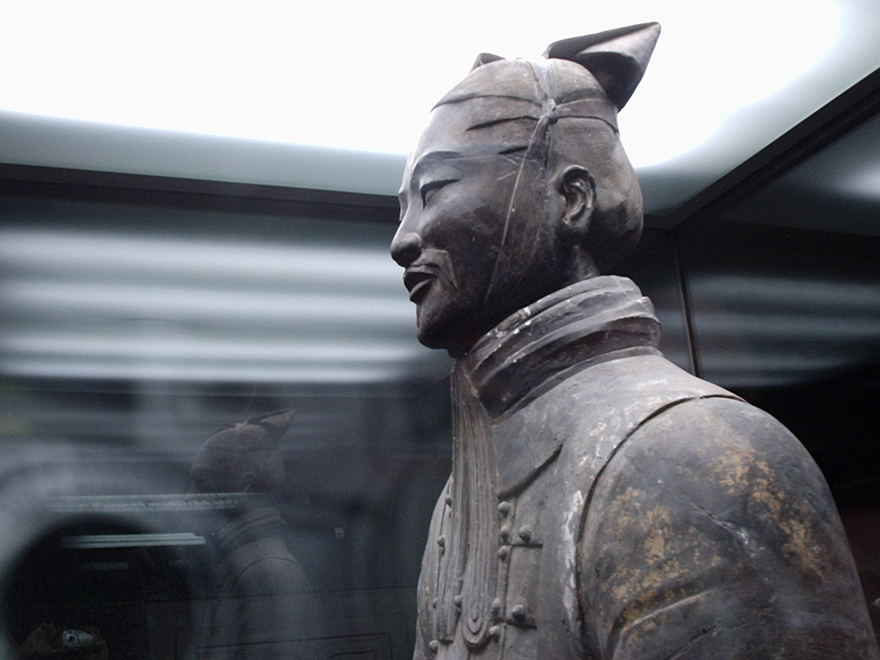
Terracotta Warrior (4/8)
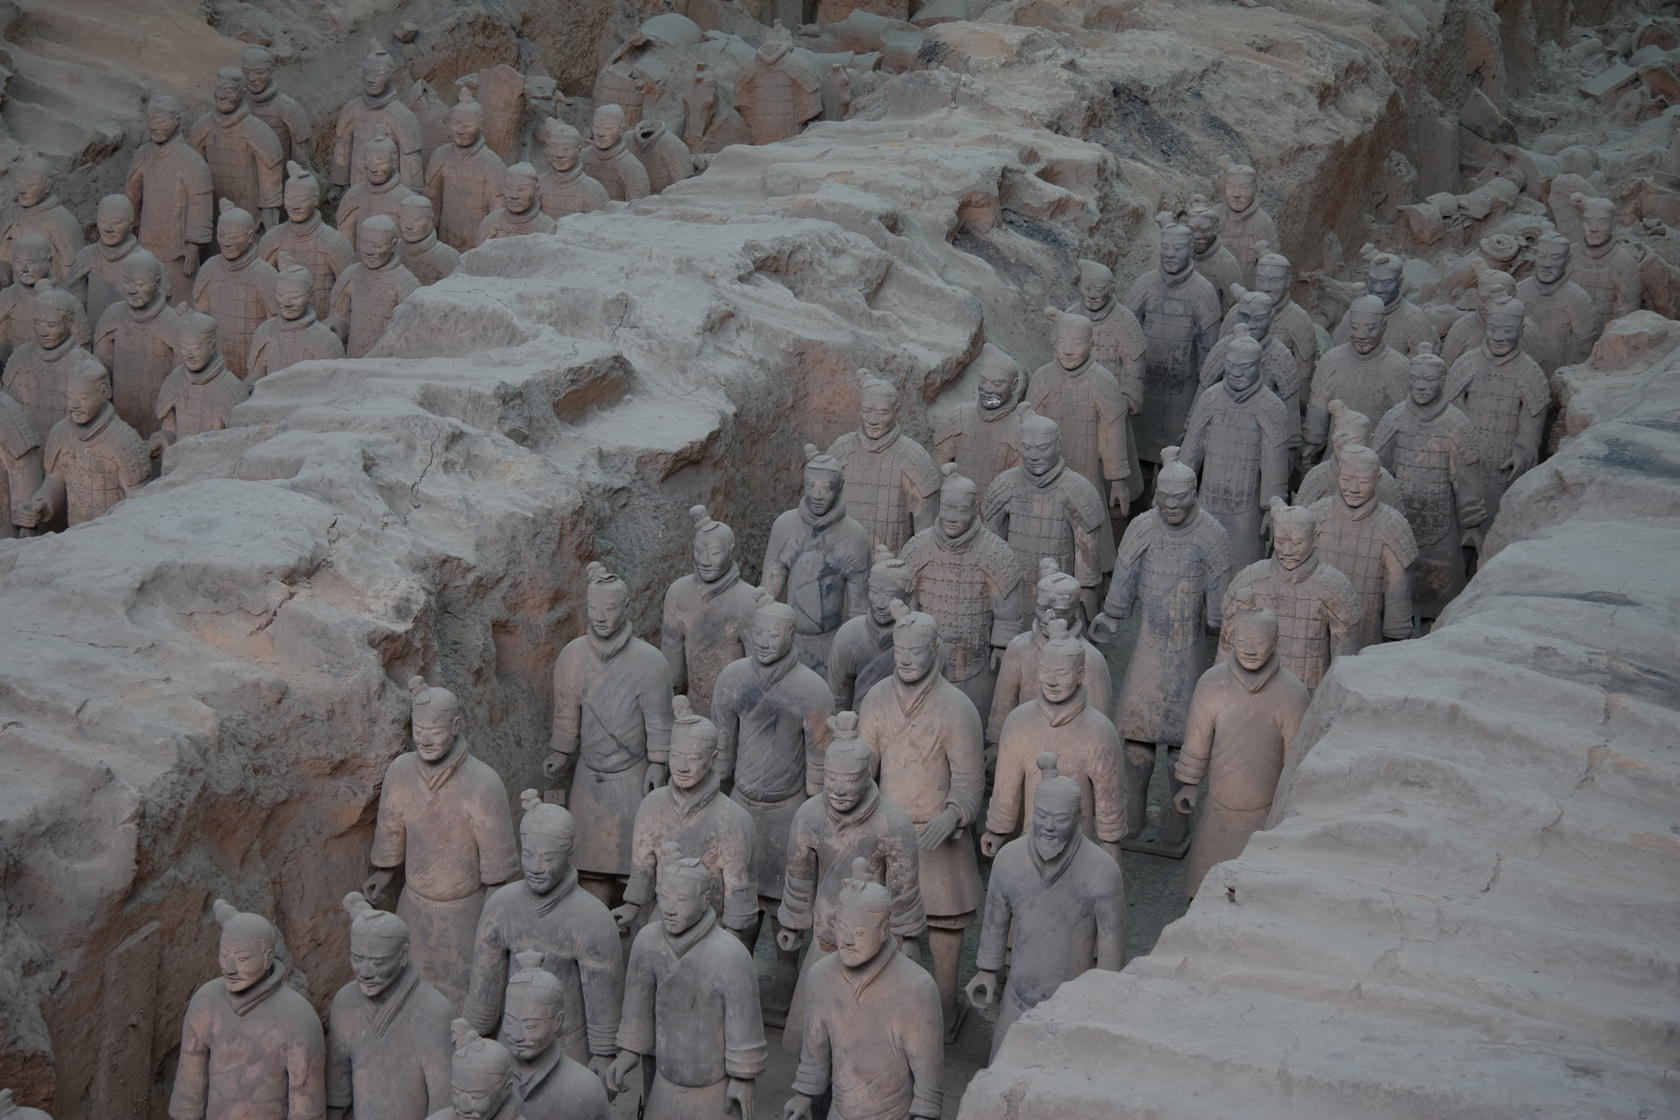
Terracotta Army (5/8)
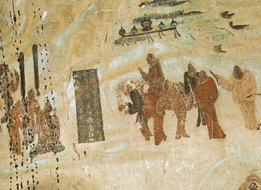
Zhang Qian Travels (6/8)
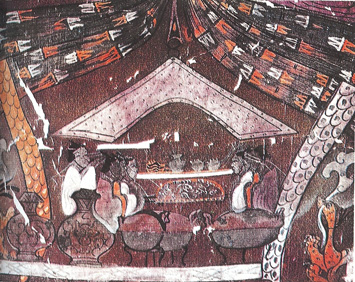
Silk Banner (7/8)
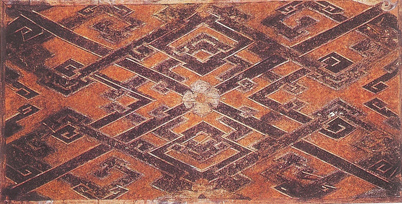
Woven Silk (8/8)
Chapter 4:
The Decline and Fall of Eastern Civilization: The Xin and Eastern Han Dynasties
Click the circles below to move to the next photo.

Han Brocade (1/8)

Pottery Palace (2/8)

Gentlemen (3/8)

Pottery Tower (4/8)
Terracotta Army (5/8)
Zhang Qian Travels (6/8)
Silk Banner (7/8)
Woven Silk (8/8)
PART II
CULTURAL INTERACTION AND TRANSFORMATION, 220–1368
Chapter 5:
The Age of Warriors and Buddhists: The Three Kingdoms, Western Jin, and the Period of North-South Division
Click the circles below to move to the next photo.
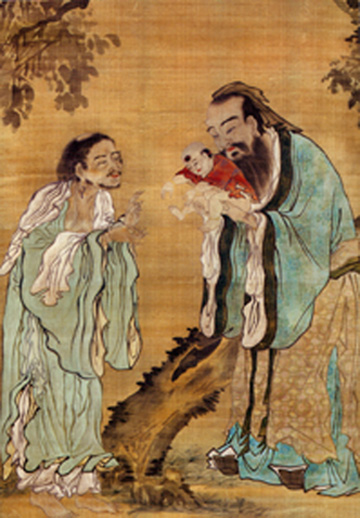
Confucius and Buddha (1/3)
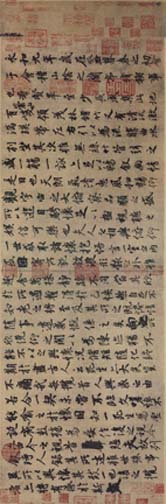
Calligraphy (2/3)
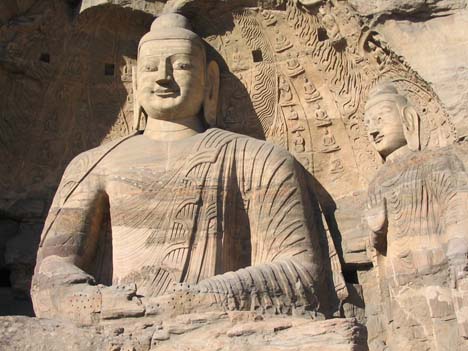
Buddha's Cave (3/3)
Chapter 6:
A Multi-Ethnic Empire: The Sui and Tang Dynasties
Click the circles below to move to the next photo.
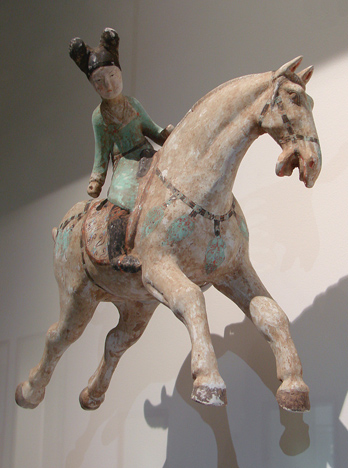
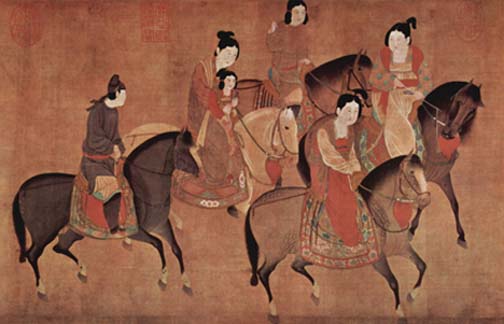
Polo (1/3)
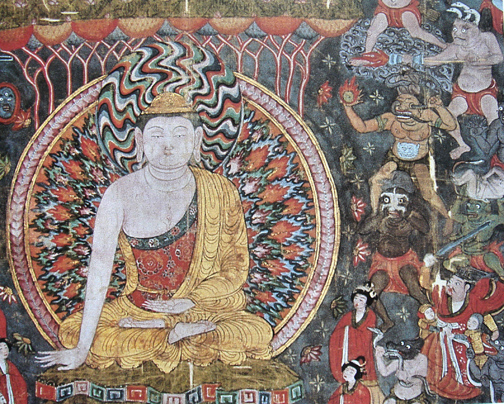
Li Kung (2/3)
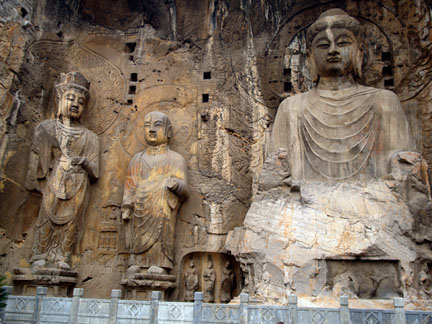
Longmen (3/3)
Chapter 7:
Competing Suns in Heaven: The Song and Its Neighbors
Click the circles below to move to the next photo.
Fire Lance (1/3)
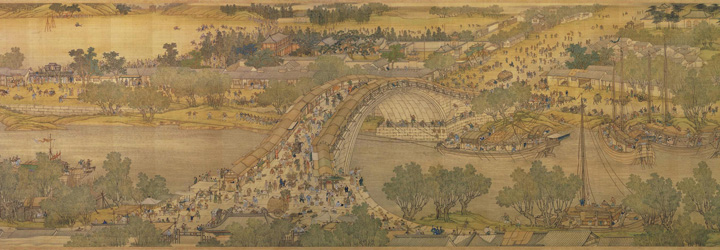
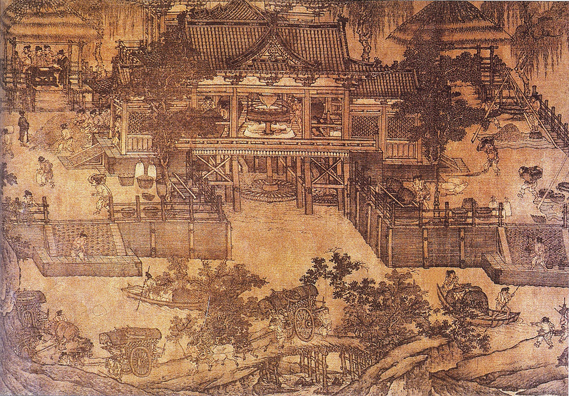
Along the River (2/3)
Hydraulic Mill (3/3)
Chapter 8:
China in the Mongol Empire: The Yuan Dynasty
Click the circles below to move to the next photo.
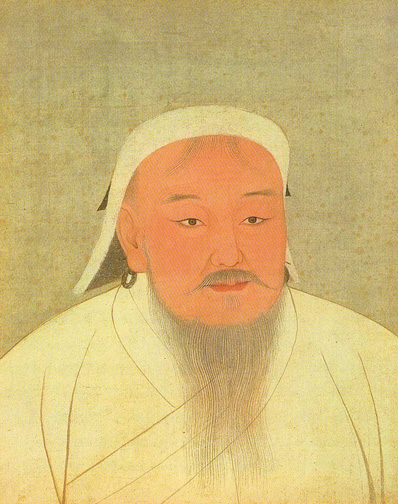
Genghis Portrait (1/5)
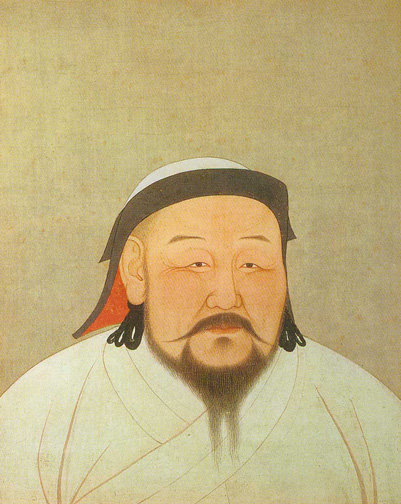
Khubilai Portrait (2/5)
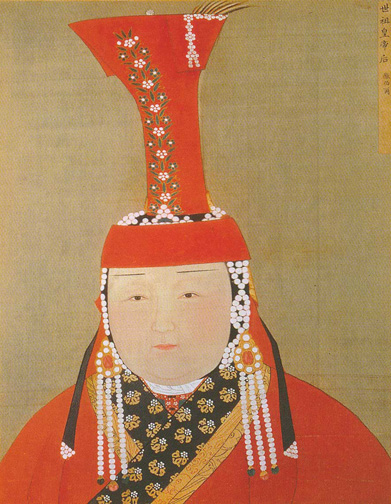
Yuan Empress (3/5)

Emaciated Horse (4/5)
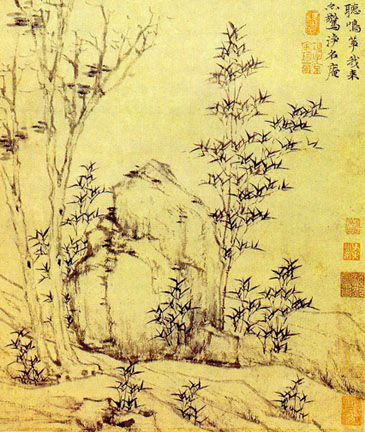
Wind Bamboos (5/5)
PART III
A NEW CONFUCIAN EMPIRE, 1368–1911
Chapter 9:
A Model Government for the Ages: The Early to Mid-Ming Dynasty
Click the circles below to move to the next photo.
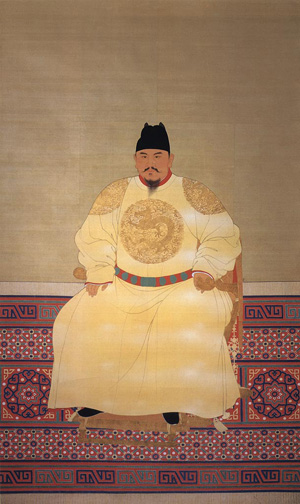
Hongwu Emperor (1/4)
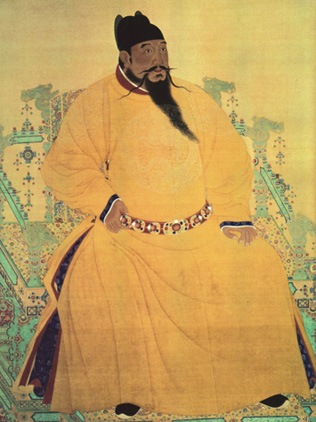
Yongle Emperor (2/4)
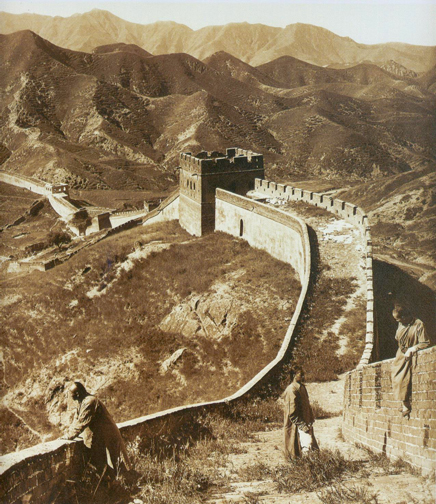
Great Wall (3/4)
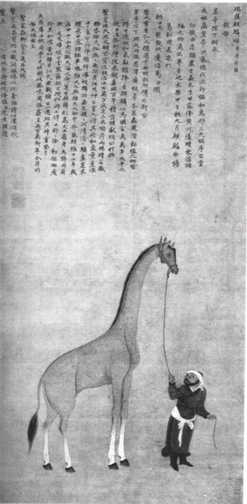
Giraffe Painting (4/4)
Chapter 10:
Wealth and Instability: The Mid- and Late Ming
Click the circles below to move to the next photo.
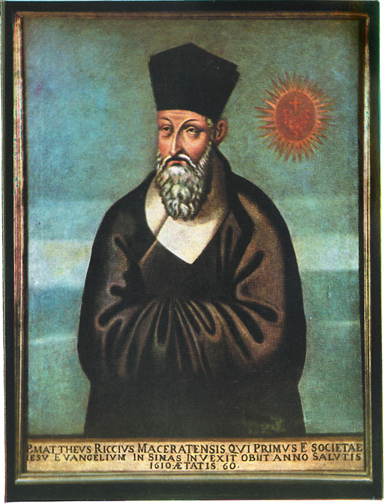
Matteo (1/3)
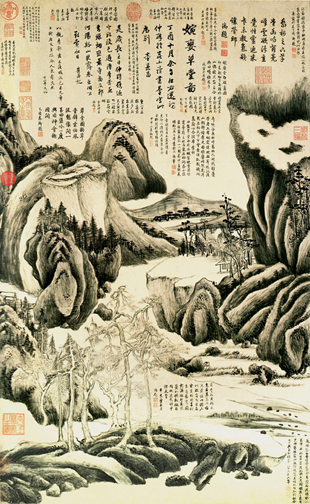
Qichang (2/3)
Ming (3/3)
Chapter 11:
A Manchu Empire: The Qing Dynasty to 1799
Click the circles below to move to the next photo.

Kangxi Emperor (1/5)

Qianlong Emperor (2/5)
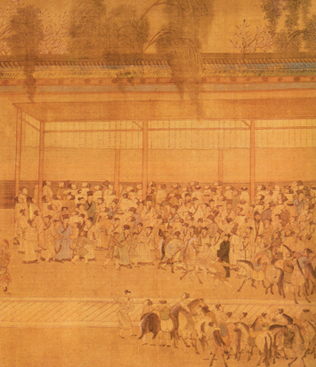
Exam Hall (3/5)

Myna (4/5)

Chinnery (5/5)
Chapter 12:
The Qing Dynasty's 19th-Century Crises
Click the circles below to move to the next photo.

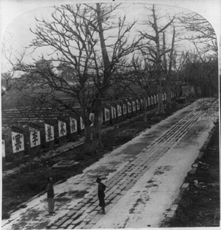
First Opium War (1/3)

Empress (2/3)
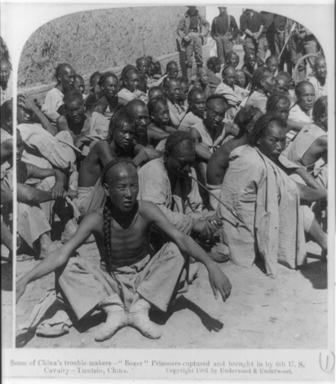
Prisoners (3/3)
PART IV
THE ROAD TO WEALTH AND POWER, 1911–Present
Chapter 13:
Struggling to Build a Nation: The 1911 Revolution and the Early Republic, 1912–26
Click the circles below to move to the next photo.
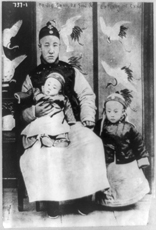
Puyi (1/3)
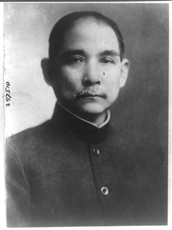
Sun Yat-sen (2/3)
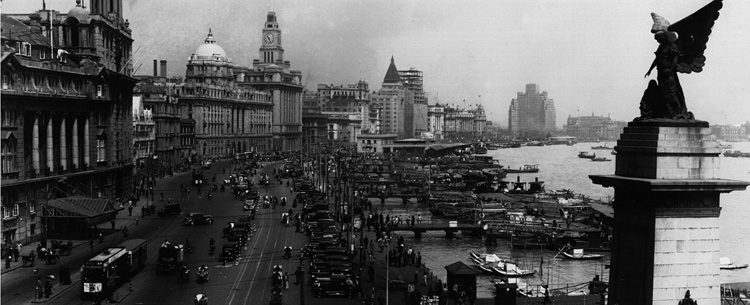
Shanghai Bund (3/3)
Chapter 14:
Years of Turmoil: China Under Chiang Kai-shek's Guomindang Government
Click the circles below to move to the next photo.
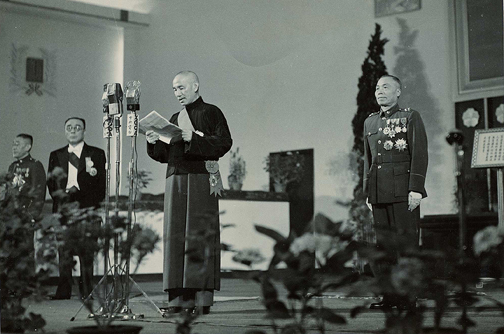
Chiang Kai-shek (1/3)
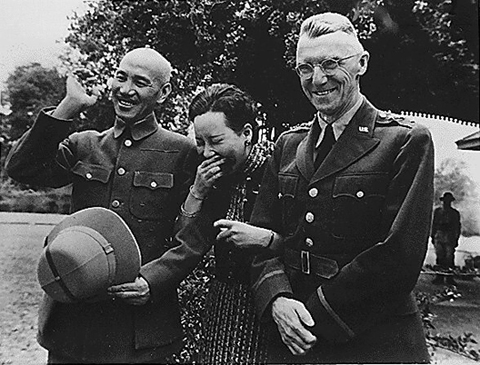
Stilwell (2/3)

Planes (3/3)
Chapter 15:
The People's Republic of China: The Mao Era
Click the circles below to move to the next photo.
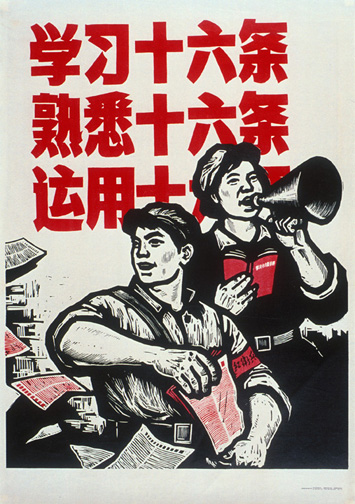
16 Articles (1/2)
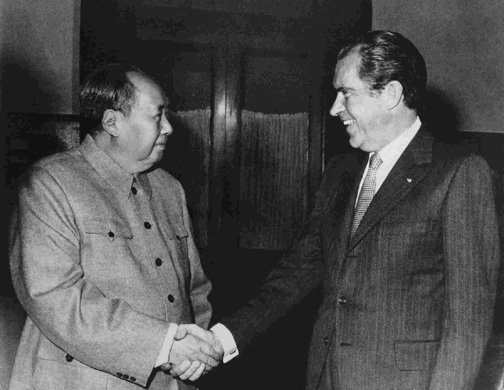
Mao Zedong and Nixon (2/2)
Chapter 16:
The March Toward Wealth and Power
Click the circles below to move to the next photo.

Deng (1/4)

Democracy (2/4)

Shanghai (3/4)

Tiananmen (4/4)